Welcome to our comprehensive guide on how to do Mountain Pose (Tadasana) correctly. As one of the foundational poses in yoga, Mountain Pose serves as the starting point for many standing poses and sequences. In this article, we will delve into the nuances of Mountain Pose, explore its physical and mental benefits, and provide you with a step-by-step guide to help you master this fundamental yoga posture. Whether you’re new to yoga or looking to refine your practice, let’s discover the power and potential of Mountain Pose together.
Remember this before you practice any yoga poses
Integrating warm-up and cool-down sessions into your yoga routine is essential for effective practice. A proper warm-up prepares your body and mind for the upcoming yoga poses by increasing blood flow, loosening muscles, and enhancing flexibility. It also helps prevent injuries and improves overall performance. Micro-Exercises are the best way to get your body warmed up.
Similarly, a cool-down session allows your body to gradually transition from the intensity of the practice to a state of relaxation and restoration. It helps reduce muscle soreness, promotes recovery, and leaves you feeling rejuvenated and centered after your yoga session. The cool-down session in the Yogic practice is nothing but the one and only Shavasana.
What is Mountain Pose?
The Mountain Pose is also known as Tadasana or Samasthiti. Tada means Mountain. Sama means upright, straight, and unmoved. Sthiti is standing still or steadiness. Tadasana, therefore implies a pose where one stands firm and erect like a mountain. This is the basic standing pose.
How to do Mountain Pose? Step-by-step guide:
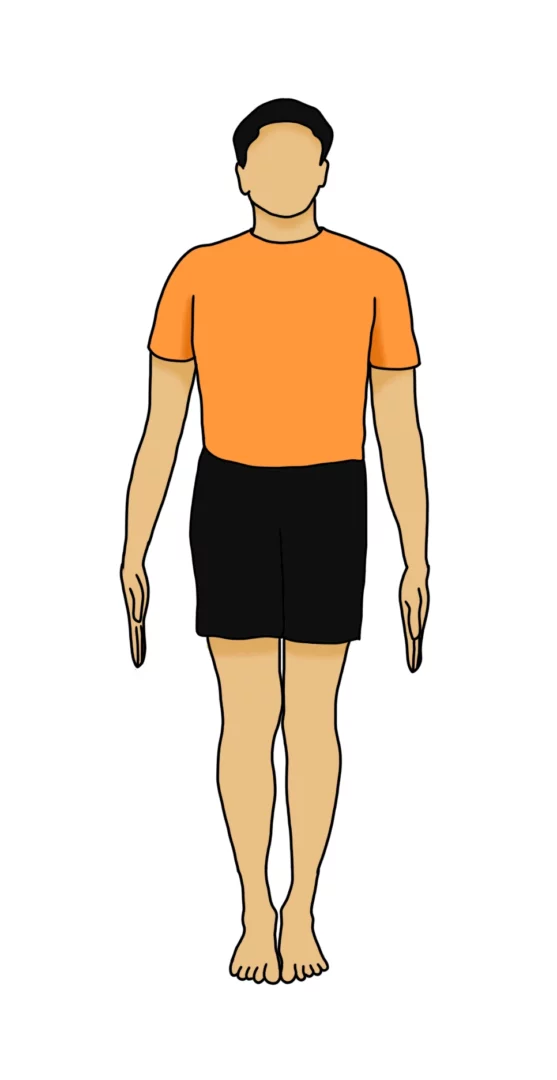
- Stand erect with the feet together, the heels and big toes touching each other. Stretch all the toes flat on the floor.
- Tighten the knees and pull the knee-caps up, contract the hips, and pull up the muscles at the back of the thighs.
- Keep the stomach in, chest forward, spine stretched up and the neck straight.
- Do not bear the weight of the body either on the heels or the toes, but distribute it evenly on them both.
- Ideally in Mountain pose the arms are stretched out over the head, but for the sake of convenience, one can place them by the side of the thighs.
- Once you stand correctly, imagine yourself rooted like a mountain, strong and stable.
- You can hold this pose for a minimum of 10 deep breaths.

Why this simple standing pose is of so much importance?
People do not pay attention to the correct method of standing. Some stand with the body weight thrown only on one leg, or with one leg turned completely sideways. Others bear all the weight on the heels or on the inner or outer edges of the feet. This can be noticed by watching where the soles and heels of the shoes wear out. Owing to our faulty method of standing and not distributing the body weight evenly on the feet, we acquire specific deformities that hamper spinal elasticity.
Even if the feet are kept apart, it is better to keep the heel and toe in a line parallel to the median plane and not at an angle. If we stand with the body weight thrown only on the heels, we feel the gravity changing; the hips become loose, the abdomen protrudes, the body hangs back and the spine feels the strain, consequently we soon feel fatigued and the mind becomes dull. It is therefore essential to master the art of standing correctly.
Benefits of the Mountain Pose:
- Physical benefits: Improves posture, strengthens legs and core, increases stability
- Mental benefits: Promotes mindfulness, calms the mind, improves focus
- Energy benefits: Grounds, centers, connects with the earth’s energy
Common Mistakes in Mountain Pose:
- Leaning too far forward or backward
- Rounding shoulders or collapsing chest
- Holding breath or shallow breathing
Conclusion:
A very simple and easy-to-do Mountain pose can be practiced by yoga practitioners of any level. The pose tones the leg muscles and gives one a sense of balance and poise. The mountain pose is a foundation pose for most of the standing yoga poses.
